This article is part of a series.
- Part : AWS - Getting Started

Table Of Contents
Confused and Puzzeled how and where to get started?
No, you are not alone. It is totally natural to get overwhalmed with so many services offered by AWS. Here, i aim to provide just enough information to get started. AWS, or Amazon Web Services does not need any introduction. It is market leader and 80% of cloud workload is on AWS.
Sometime, i wonder there should be a guide of simple steps that should guide me just enough to get started with my AWS account. The end target should be that i have a EC2 Instance, that i should be able to login with my system. I should have my own VPC, Subnet, Routing table and internet gateway.
My high level plan to get started
I followed these steps and noting it down, thinking it would be useful to someone else also..
I assume, you already have signed up with AWS and your account is completly active. There would be a number of steps required to achieve target state. Broadly they are:
Create VPC
Create route table with vpc and attach internet gateway.
Create subnet within VPC and attach to route table having internet gateway.
Add route to routing table so that internal targetted traffic could be resolved internally and external traffic route through internet gateway.
How do i go about it?
It all starts from creating your VPC.
On your AWS console dashboard,
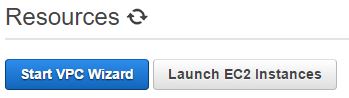
 click services and then select VPC service. In the next screen, “Start VPC Wizard”
step 1:
Click select when on the left side of the page is selected “VPC with a Single Public Subnet”
step 2:
Fill in following values:
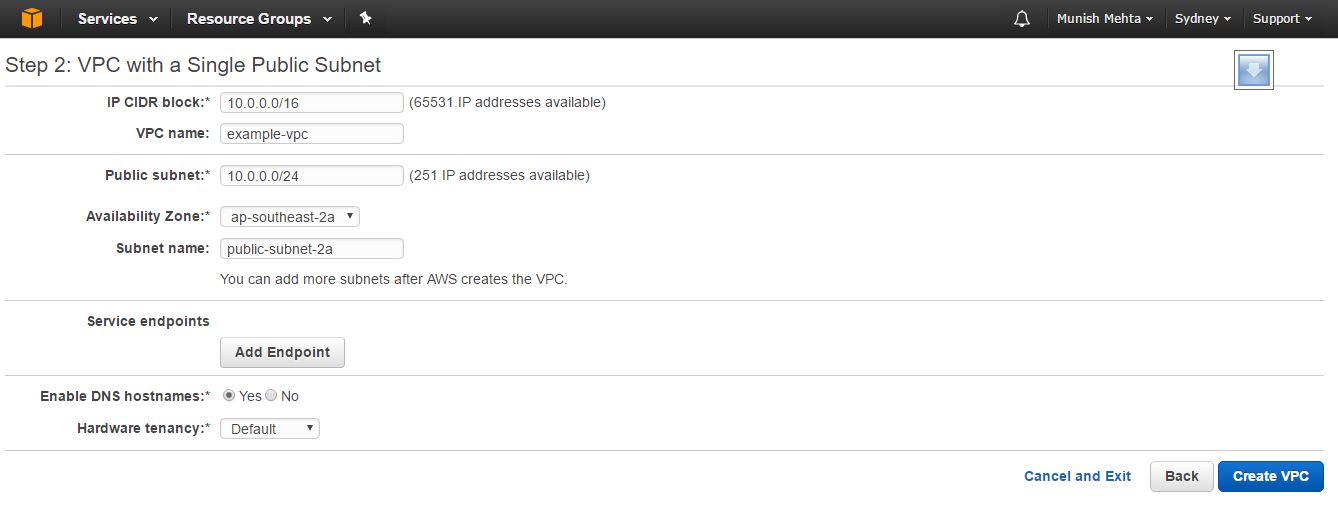 Here i have chosen “Availability Zone” ap-southeast-2a as i am in sydney region. You might want to select the value as per your availability zone.
Click: “Create VPC”.
you should see “VPC Successfully Created” success message. This means you have successfully created a VPC.
Observations:
Above step has create following:
- A VPC
- A public subnet
- A route table with attached internet gateway.
Select “Your VPCs” from left pane and select your created vpc row. I have selected “example-vpc” which i created above.
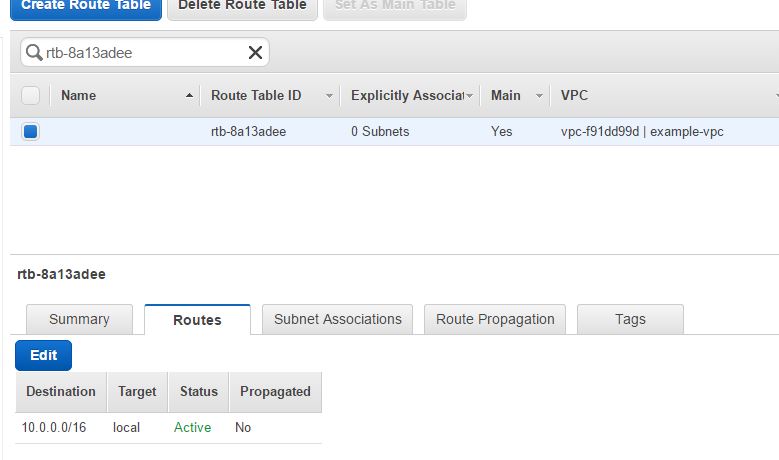
In the table below, select the route table. In next screen select the route table row. You can see, your VPC’s default main table resolves internal traffic only. (If not obvious, select the row table and Routes tab in lower part of the window)
Now, select “Subnet” from left pane, and select “public subnet 2a” row for example vpc.

Select route table, tab from bottom part of the page. Here the route table shows two destinations, 10.0.0.0/16 and it resolves locally. The second one 0.0.0.0/0 and targetted to internet gateway as target. It means any traffic emerging for ip address range 10.0.0.0/16 will be resolved locally and the traffice emerging for ip address 0.0.0.0/0 (i,e anywhere for the world wide web) will be routed to public facing internet gateway.
**Note: if the route does not has 0.0.0.0/0 mapped to internet gateway, you can click “Edit” button and make this entry yourself.
At this point, you should be ready to launch your instance in public facing subnet.
Launch EC2 instance
Click services in AWS Console and select EC2 service. Click big blue button at the center of the page, “Launch Instance”.
In next screen, Choose any free available AMI. I choose, “Amazon Linux” and click select.
Next screen Select “Free tier” eligible instance type, which is “t2.micro” and click button “Configure Instance Details”.
Configure as i shown in image. Click “Add Storage” button.
Keep defaults here and click “Add Tags”.
Keep defaults here and click “Configure security group”.
Create “New Security Group” and name it: “launch-wizard-1”. Click “Review and Launch”.
Click “Launch” in last screen.
A pop up comes and asks to create / select key pair. Here, create a keypair and download it to your system.
Click Next, shows meesage: “Your instances are now launching"
The following instance launches have been initiated.
Click “View Instance” button on this page. You can see your instance getting launched.
Wait, until “Status Check” Column changes hourglass to 2/2 check pass status.Once the status is “2/2 Check Paas”, select your instance row and see the table in lower part of your window. Observe and note private and public ip address.
If there is no public ip, you need to create and assign to it. For this,
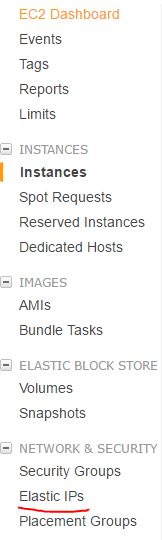 select the “Elastic IP” from left hand pane, and click “Allocate New Address”. Once you have IP address, select that row and click “Action” -> “Associate IP Address” and search and attach your instance id with it. It should come automatically in drop down below and you have to pick and select it.
Save it.
Now go back to your “Instances” page and note down public ip.
Test your instance.
On EC2 dashboard, click your launched instance and Click “Connect” button on the top of your page. A pop up comes up and select “A Java SSH Client directly from my browser (Java required)” and click Launch.
Note: This action will not work in chrome. You need to use any other browser. Also, you need to update Java in your system before you can try this.
If you are having trouble with this there can be two other options for windows users:
Download putty and puttygen.
- Only for windows users: Generate windows format private file
If you downloaded putty and puttygen, Open puttygen first. In puttygen, Click “Conversion” and then import. Navigate and select pem file you downloaded earlier. After selecting, Click “Save Private key”. In resulting box, type a good name with extention .ppk and save to your system. Click Yes to any dialog box that come up.
Exit puttygen now and open putty. Type in public ip of your instance. And on the left side of the putty, navigate to “Connection” -> “SSH” -> “Auth”. Browse and select .ppk file generate above. Once done, Click okay and connect.
Resulting box asks confirmation to trust and username (ec2-user). provide this. It should connect you.
Download and install “Git for windows”
Open Git bash from your windows.Type in:
chmod 400 "<path to pem file/ pem file name.pem>"ssh -i “<path to pem file/ pem file name.pem>” ec2-user@public-ip
It should connect you.
Let me know if you face any issues.
This article is part of a series.
- Part : AWS - Getting Started